Minibri Temp — The Deep Dive
Try Minibri Temp at https://temp.minibri.com.
Inception Story
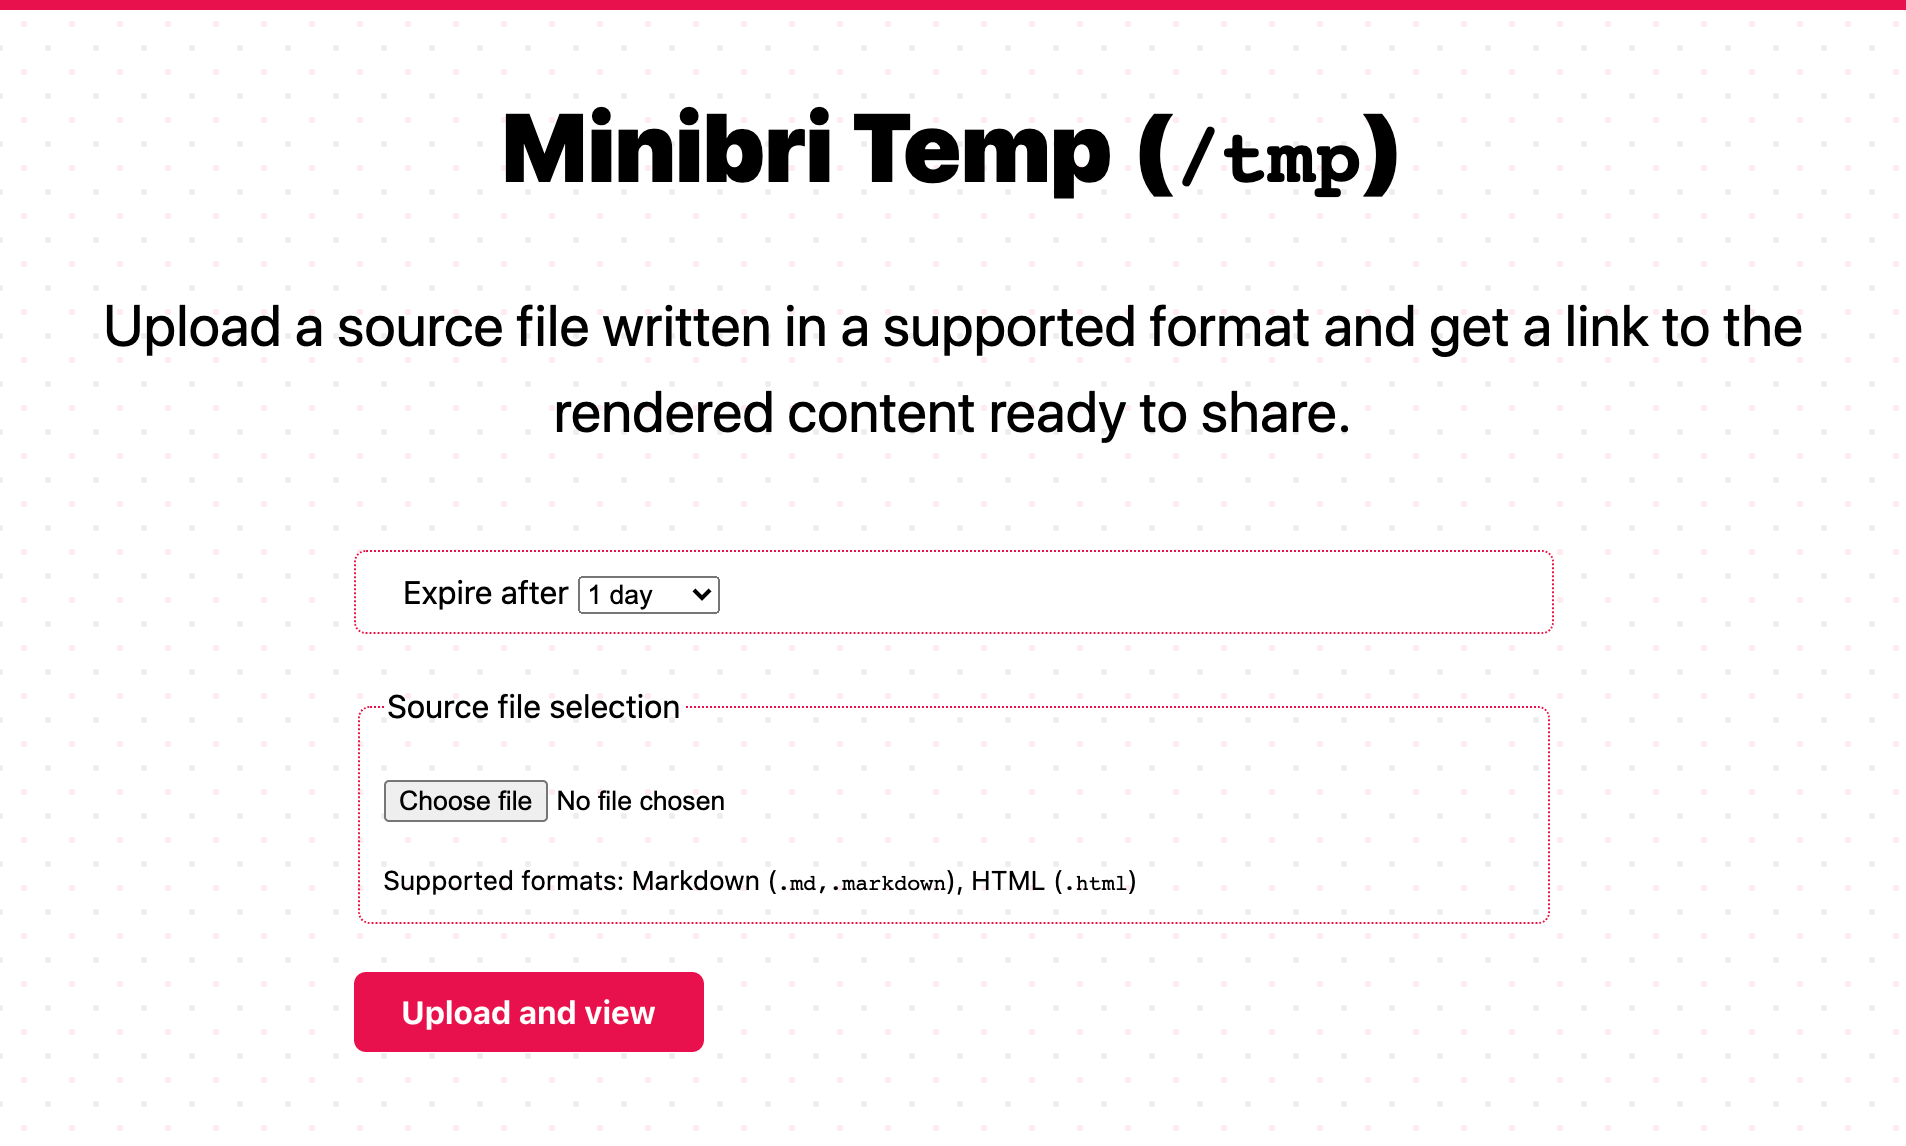
Minibri Temp allows you to upload a file which contains either HTML code (including CSS and JavaScript) or content in one of the supported formats, e.g. Markdown, and soon Asciidoc. Once the file is uploaded, the content is converted to HTML, and you get a link to view the rendered HTML content. You also specify a duration, after which the URL will expire and the uploaded content will be deleted.
This service seems incredibly simple, because it is 😅 Markdown converters are very popular, but my plan is to add support for a few more source formats, which is what differentiates this from everything else since I cannot really find anything supporting non-Markdown content.
I had several moments last year that I wanted to share a link with a friend or a colleague to show them some content. To do that, I had to run some local command line tool on my laptop to convert it to HTML, then login to my AWS account (or Github) and upload the file to my website, and then finally share a link with them. Minibri Temp just makes this simple use-case a 1-step action! 🥳 Google Drive and Dropbox also make this easy but I don’t have them on all my machines, so they are not there when I need them.
I developed the application over two weekends, so it’s nothing record-breaking or something that’s going to win the Alan Turing award, but in this article I would like to do a deep dive into its architecture and some technical decisions. I want to show that using just a few core services allows someone to build useful applications, whilst also having fun, and at a cost of almost zero.
Architecture Overview

As the diagram above shows the user’s browser interacts with three main systems.
- The static assets are loaded from Netlify Edge, which is Netlify’s smart Content Delivery Network (CDN).
- The uploaded content is sent to a Netlify Function, which is Netlify’s serverless compute platform built ontop of AWS Lambda. This function does some content validation, and creates one HTML file with the converted content.
- The created HTML file is immutable and is stored on Amazon S3, Amazon’s object storage offering on AWS. The page returned to the user directly fetches the converted HTML file from Amazon S3 (using presigned URLs).
The last step is a bit debateable and I could serve the converted HTML files through Netlify Edge as well, having the S3 bucket acting as an origin. I did not go with this approach for now to avoid having to make the files stored on S3 public, therefore all access to the files uses presigned URLs, which gives me control on who can access them and for how long.
No JavaScript required
It might be a bit unusual nowadays, but I want the website to be fully functional without JavaScript required in the user’s browser. Obviously, I will introduce some JavaScript in the future, e.g. for drag & drop the file instead of manual selection, but I want 100% of the functionality to work without JavaScript needed.
Content server inside an iframe
If you noticed in the architecture overview I mentioned that the output HTML is fetched using an S3 presigned URL. In addition, if you examine the actual page returned when viewing the generated content (e.g. this sample) you will see that it’s basically a very simple skeleton page that contains only an <iframe> with its src attribute set to the S3 presigned URL.
Let’s see why.
I have the following requirements:
- The generated HTML for the converted content should be immutable. After its creation I should not need to ever touch it again, so that it can be served from S3 or any CDN service.
- I want to be able to update the skeleton of the view page, for example to customize the header, or maybe in the future add a footer, etc. These changes are not related to the converted content, but the surrounding parts.
I thought about three possible solutions to satisfy the immutability requirement:
- Generate the HTML file for the converted content, and also include all the HTML needed for my own purposes (e.g. header). Each HTML file will be self-contained completely, and will be the only thing needed to be served to the user.
- Generate the HTML file for the converted content, and include an
<iframe>at the header section as a placeholder which has itssrcattribute set to the URL serving the header. - Generate the HTML file for the converted content and store it on its own in S3. The HTML served to the user would be a different HTML page that contains an
<iframe>with itssrcattribute set to the HTML file in S3 containing the converted content.
Solution 1 is the easiest, and probably the one with the best caching since it can be cached literally forever. However, it does not allow for updates which is a deal-breaker (see second requirement). Solution 2 is OK since it allows me to update the header section anytime I want, and still benefits from immutable, cacheable HTML files. Solution 3 provides flexibility, and keeping the actual HTML file for the converted content separate from the skeleton page is good for future-proofing. Therefore, I went with solution 3.
Direct Download from Amazon S3
This is something I might change in the future, but this section describes the initial implementation. When you upload a file, the serverless function handling the request will convert the content to HTML, and then store the generated HTML file on Amazon S3.
One of the goals I had was that content should not be served directly from the serverless functions to avoid incurring high cost, since the pricing for AWS Lambda, and hence Netlify Functions, is based on the number of requests and the duration of the function execution (rounded to the nearest millisecond precision). Furthermore, Amazon S3 is much more suited at serving static files versus AWS Lambda, which is good for our lightweight compute needs.
Another goal of the final implementation was that I wouldn’t allow public access to the S3 bucket.
Let’s go through the possible solutions and see what works and what doesn’t:
- Use Amazon CloudFront (Amazon’s CDN) in front of S3
- Use Netlify Edge (CDN) in front of S3
- Fetch from S3 directly
Using Amazon CloudFront satisfies both goals, since it’s a global CDN and by using something called Origin Access Identity we avoid opening access to our S3 bucket. However, using Amazon CloudFront would add another service to the mix, and since Netlify is a CDN already I didn’t want to introduce another. Next one.
I haven’t been able to find something akin to the Origin Access Identity for Netlify Edge, and therefore solution 2 is ruled out since it would require public access to S3. If there was a way, this would be my ideal solution.
So we are left we solution 3, exposing files from S3 directly. But, didn’t I say that I didn’t want to give public access? 😒 The final approach is that when the serverless function handling the file upload responds, it basically returns a dummy HTML that contains an <iframe> with its src attribute set to a presigned URL for the actual HTML file in S3. This seems like a round-about solution, but it actually satisfies both of my goals nicely. I have total control over who has access to each file and for how long, and I do not expose the file structure on S3 directly.
There is one drawback in this solution, namely S3’s bandwidth cost. Usually for high traffic downloads it would be much cheaper to use a CDN in front of S3 to cache the content, rather than always hitting S3 directly. However, considering that the traffic is going to be close to zero, who cares 🙃 😜
Content Expiration
One of the features I wanted from the beginning was content expiration. Ideal for sharing content that is not ready for prime view or work in-progress, or even stupid notes to a friend.
This feature is implemented using Amazon S3 Expiring Objects. This feature allows you to create a Lifecycle rule where you specify a filename prefix, or specific tags associated with your object, that will trigger its expiration after a given amount of days.
For example, if I stored the content in different virtual directories we could have different prefixes based on the expiration, e.g. s3://my-bucket-name/expiration-days-1/sample-file1.html and s3://my-bucket-name/expiration-weeks-1/sample-file2.html. Then, you can create a Lifecycle Rule specifying that anything under the /expiration-days-1/* should expire after 1 day, and similarly for /expiration-weeks-1/* after 1 week.
In my case, I prefer to use tagging instead of a certain directory layout to stay flexible in the way I name and store files. Therefore, I assign the tag expiration=Days1, or expiration=Weeks1, etc. to each object and create the corresponding Lifecycle rules to check the expiration tag value.
Note that Amazon S3’s expiration is not precise to the minute, or even to the hour. The cleanup runs once a day and therefore an object could be accessible for several hours passed its expiration. For Minibri Temp, this is fine, and we don’t need anything more precise.
URL Generation
The URL generation was probably the most fun feature to develop. The URL could not be very short like URL shortener services, because there is no database to hold the mapping, and just querying S3 until a non-existing filename is found (in case of collisions) would be very slow, and very expensive.
Therefore, the URL should be generated in a way to avoid collisions but still be user-friendly, that is less than 80 characters, and without querying S3. As mentioned before, the generated HTML files are immutable, and once the URL is generated it should always point to the same content.
Right from the start I used the content hash as the URL basis using SHA512, and encoding the hash digest using Base 62, which resulted in roughly 86 characters. This was a bit longer than I liked. Going one step lower and using SHA256 would result in roughly 43 characters which was very nice, but I thought that over time it could lead to several collisions.
In the end, I went with a hybrid approach of using the SHA256 digest encoded in Base 62 as the URL suffix, along with the hour the file was uploaded, and the expiration selected as the prefix. This creates a nice 2-level scoping for each content hash which makes it extremely unlikely to ever hit a collision.
One other reason I have chosen to use the creation date (precision to the hour) is that it automatically sorts the content in the S3 Console, which is a nice bonus while debugging or troubleshooting issues.
Original URL format:
https://temp.minibri.com/view/I65a3dvY1pDbeSQf1NHmZvUR4S3FNszuM5WZyovifwpil9YbMl5NHi3bphnt9H9AfjVxHlRbpUJKmXGXyldVIz

Final URL format:
https://temp.minibri.com/view/c1614636000-e1-rbPYezZ4mwnb3fANNZjBGcwEyNHAsvKDQRR0olVCOIG
Why Netlify?
I play and experiment with many serverless platforms over time, and Netlify is one of my most favourite services at the moment. I wrote an article last year comparing it to Vercel and AWS, but I haven’t used it for anything more complex than just static sites before. I decided to give it a go for a full-fledged application, and I really loved its quality and development experience!
Notable highlights
- Netlify Dev is essentially a local server simulating what Netlify does in the cloud. It is amazing! 🤩 I set it up to work with Next.js (the static site part) along with my custom Webpack configuration for the serverless functions, and it has really been working fantastically.
- Pull-request Deploy Previews have been complementary to Netlify Dev in order to fully test the application without affecting the live version in production. For every Github pull request it gives you a URL to access a fully-working application, including the serverless functions which hold the main business logic in my case. Full testing before production achieved! 🏆
- Rewrites and Redirects is such a subtle feature that you think you don’t need it, until you use it. I have been using AWS Lambda@Edge with Amazon CloudFront to do simple routing for years, but with Netlify redirects and rewrites this becomes a pleasure. For example, in this application when someone visits
/create-content, Netlify transparently forwards the request to/.netlify/functions/create-contentwhich is a serverless function handling the request. And you can even use this to proxy requests to servers on different domains. - Netlify Functions is another greatly executed feature by the Netlify team. I have used AWS Lambda and Amazon API Gateway for years, inside and outside of Amazon, and avoiding all the hassle of messing with API Gateway to setup basic endpoints is so refreshing. I still build the lambda bundles myself though, rather than letting it go full autopilot in order to control exactly what goes into the bundle.
AWS Resources
As you probably realised at this point, the application needs an Amazon S3 bucket, outside of Netlify’s control. And since this bucket will be into my account, we also need credentials to access it from Netlify Functions, thus we need an IAM User. I provision the AWS resources used by the application using AWS CDK which is great compared to raw CloudFormation, or even other infrastructure-as-code tools.
Total Cost $$$
Depends on how many people will actually use this, but unless it gets hundreds of thousands of uploads per day, it’s not going to cost me more than a Hot Chocolate ☕ per month.
Future Plans
These are just some ideas I might implement in the near, and far, future.
- Password protected content 🔐
- Support more source formats, which was one of the original project goals 📋
- Add an editor to write content directly on the website ✏️
- Never-expiring content (paid feature?) 💰
- Multiple files, including images, as part of the same shareable link (paid feature?) 💰
- Delete after read (remember Inspector Gadget’s self-destructed mission papers?) 💣
Conclusion
My favourite AWS services, AWS Lambda and Amazon S3, along with Netlify’s superb simplicity and great development experience, are all we need to build powerful applications! 🥳 🚀
Changelog
- 2021-03-02
- Added sections No JavaScript required, Content server inside an iframe
- Updated section Direct Download from Amazon S3